Please click here to download the assembly manual for Kaboon Washer & Dryer Countertop and Shelves Set in the newest version:
We added a special paper tape to help you hang the cube shelves on the wall.
Assembly Keys:
1 Assemble the cube shelves.
1) Put the yellow connector into the bigger slot of the baseboard.
2) Push yellow connector to the small slot.
The main point is to get the yellow connections stuck and hangers lined up horizontally with the slots running in the same direction.
2 Screw into the wall.
Various wall types demand specific components. Please confirm the type of your wall before screwing/drilling. This blog specifics in drywall installation.
Drywall usually cannot hold much weight, so if we want to hang something, it is best to mount into the stud. Normally the distance between two stud is 16’’, but our floating shelves are not so long. Thus, we can just mount one side into the stud with the metal anchor provided. This anchor can be simply described as a combination of pieces of metal. As you screw in, the pieces will open up like wings behind the drywall.
To begin with, you have to find the stud. If you have a stud finder, please follow these steps:
1) Clear any obstacles or decorations from the wall, select the appropriate scanning mode of the stud finder.
2) Place the stud finder against the wall and slowly move it horizontally and keep it at a consistent height when scanning.
3) Once the stud finder indicates a stud, mark the spot on the wall using a pencil.
4) Repeat the scanning process in the immediate vicinity to confirm the edges of the stud, mark the other edge.
If you don't have a stud finder, just knock the drywall. It will sound hollow between the studs and tight when there is a stud behind. Or find a magnet and slide it on the wall. It will stick when it is on a stud.
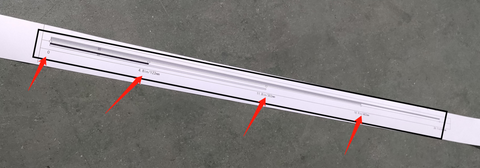
After you find a stud, confirm the correct height on the wall first. Then use the paper tape provided to mark the position where you will hang the floating shelf. There are several measurements on the paper tape, and they are equal to the lengths of cube shelves. You can directly put the paper tape on the wall horizontally and use a pencil to mark, then use a very small bit to drill a hole until you hit the stud and insert the screw into the stud, so that one side is completed.
3 Place the drywall anchor’s wide surface horizontally at the other mark, then hammer it into the wall.
4 Insert the screw into the anchor and tighten it completely. Both sides completed.
This anchor has advantages, such as it doesn’t need pre-drilled holes; after installation, if you want to remove it from the wall, just screw out the screw and the “wings” will close, to cause no hole on the wall, easy to repair.
Note: https://www.youtube.com/watch?v=Ide9_wqAgqg
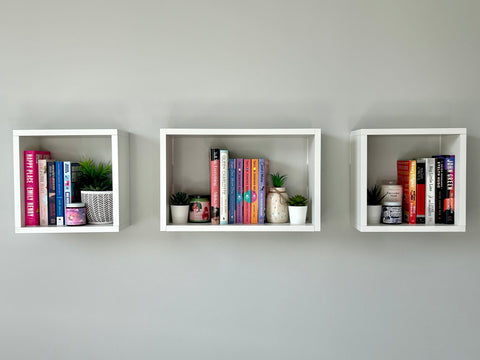
5 Hang the shelves on the wall. Please arrange the shelf against the wall with the grooves of the metal brackets facing downwards, so that the screws can be hung in the groove of the hook. And your installation is successfully complete!
We've done tests of the shelves. They can hold well over 50 pounds if installed correctly on drywall. For the concrete wall and wood wall, the load bearing will be more. You could also refer to the assembly video below:
https://www.youtube.com/watch?v=rAFcEXjhijU
Here is one tip from one of our customers:
Remember to leave at least" 1 to 1.5" of space between cubes so you can install and remove them without moving all the others!
Leave a comment